WATERPROOF CABLE GLAND INSTALLATION GUIDE
Use this guide as a walk through of the process of selecting and installing cable glands.
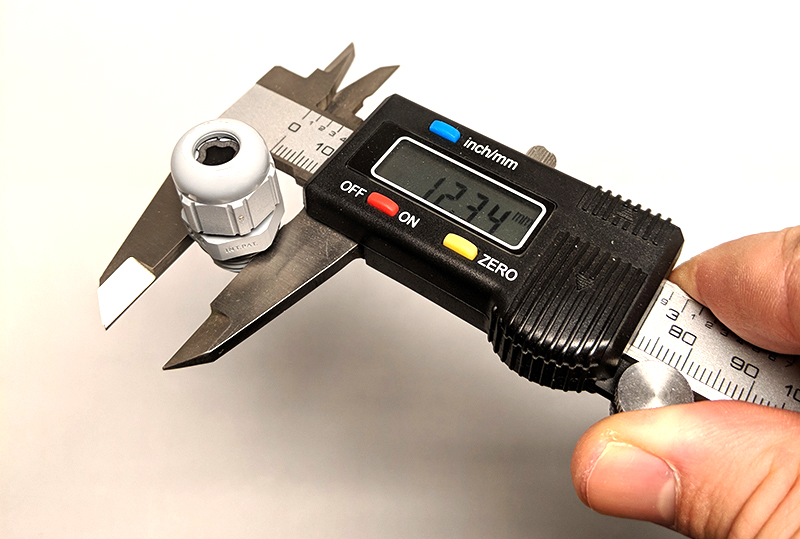
1. Determine cable size
Since the Raspberry Pi only needs two leads in order to provide 5 VDC, I used a oil and water resistant cable that has 4 conductors, making sure the cable gauge is sufficient for the amount of current needed. I need to know the cable size for the gland, so I measured the diameter of the cable.


2. Determine connector sizes
This doesn’t apply to my situation, because I plan to use a terminal-style connector with the Quasar, which is really convenient. Typically if you need to use a connector, such as the micro USB to power the Pi, you’ll need to measure it’s overall size in order to fit it through the gland. This can present the biggest problem because large connectors with small cables don’t have many gland options, so cutting the connector off and reattaching it later might be your best bet.
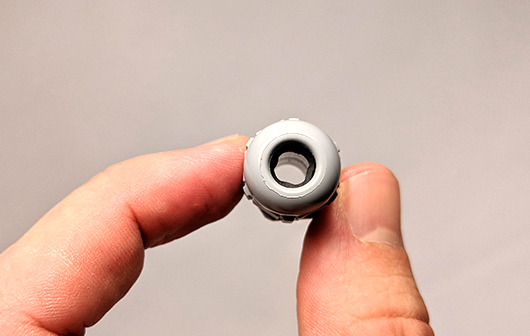
3. Select appropriate gland based on connector size and cable size
The gland will need the ability to pass the connector through (unless you plan to soldier it on afterwards) and the ability to clamp down on the wire to create a seal. Again, this can be the most challenging part, as it can require a very large cable gland but a very small sized hole in the insert.


4. Drill or tap hole for gland
Now that you’ve selected the gland, you’ll need to drill a hole for it (PG7 gland shown from McMaster). If you’re feeling really fancy and want to minimize the interior space it occupies, then you can tap the hole so that you don’t need a gland nut to hold everything in place.
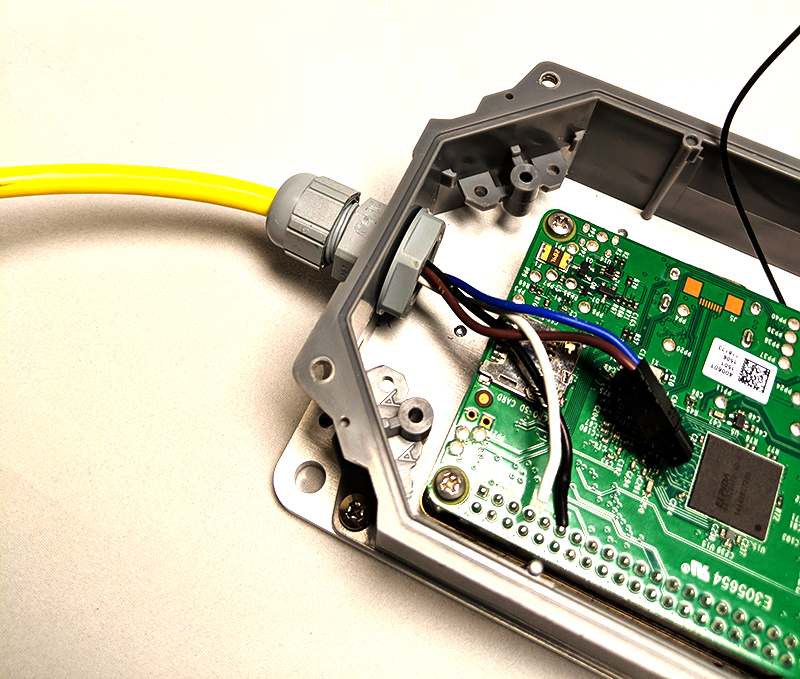
5. Insert and tighten
Install the gland and then push the cable through. Make sure to leave enough slack to attach the cable to your electronics inside and route the cable out of the way if desired. Tighten the gland on the cable to ensure a watertight seal.
Rubicon enclosure shown on right

6. Test
The often forgotten, but most important step. Make sure you test the seal before you deploy the project. A test as simple as using a squirt bottle can give you the confidence you need. And if you do find a leak, tighten everything and test again.